The kids had a day of this Thursday, one of the many that always falls in the spring. A small taste of the many many more days they will have off in the fast approaching summer holiday.
In recent weeks I have taking a course on fabric printing. I love learning something new and this is especially a field I have wanting to get into for a while. This week’s lesson was about printing with rubber stamps. The kids saw me preparing all sorts of templates for that this past weekend and also wanted to try it. So I promised them that we could do it as a project together – a DIY project for their day off.
The great thing about these stamps is, that there really isn’t any limitations on what you can do. You can let your fantasy run free and create whatever you want. Moreover, you can print on finished products like t-shirts or bags or on pieces of fabric that can be used for sewing afterwards.
If you want to have a try, here is a quit tutorial on how to:
What we used:
Assorted pieces of wood (I got some for free at the local carpenter’s)
A sheet of rubber vinyl (also known as EVA)
Scissor and hobby knife
Glue
Fabric paints
Small pieces of sponge

How we did it:
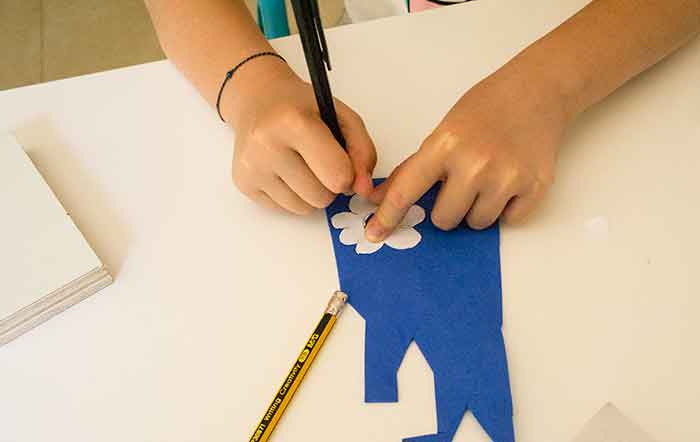
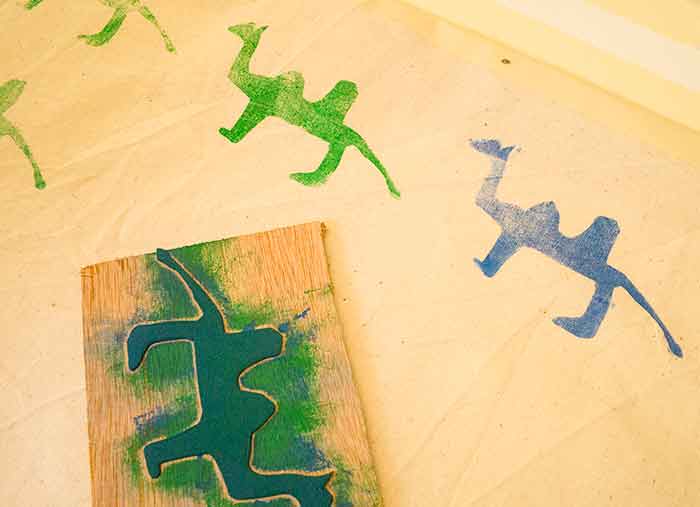
I had the kids draw something they wanted on their stamps on regular paper, had the cut it out and transfer the image to the rubber vinyl. Using both scissors and the hobby knife, they cut the images out of the rubber vinyl and glued them on to the wood. I used spray glue, but another kind is probably fine.

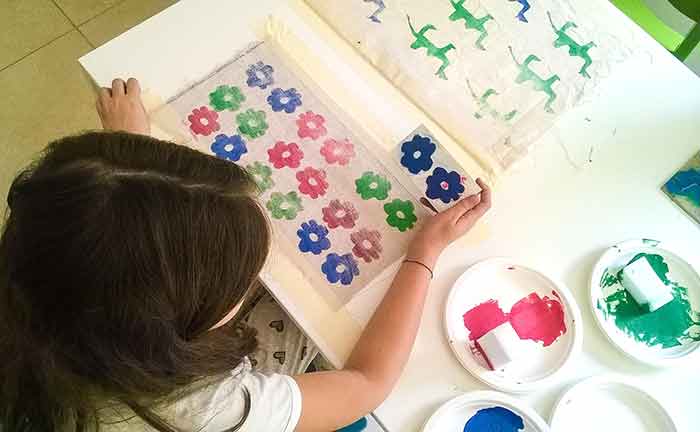
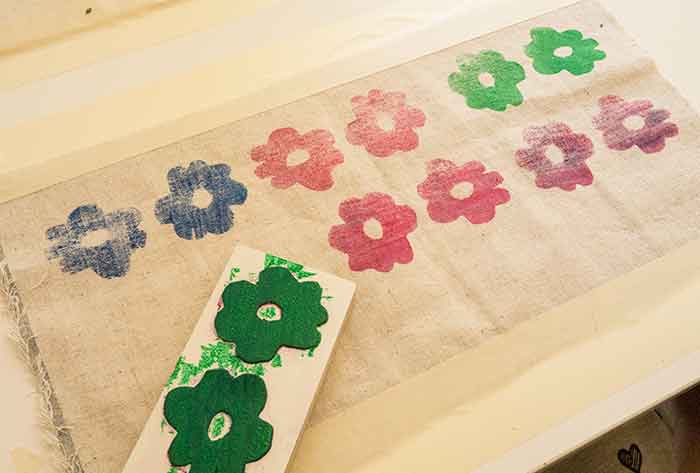
We added a bit of each color of paint onto paper plates, each its own and using the sponges we applied the color to the stamps. The color should be applied in a thin and even layer with the sponge and then stamped on the fabric. Each of the kids did their own system and color choice.
It was a lot of fun, very creative, with a lot of beginner’s mistakes and something that we will surely do again soon.
Leave a Reply