
A few days ago my youngest came to me and asked if we could sew something together. He was specific like he always is. A felt Penguin. And so a felt penguin it was.
My son is very visual and very precise. He is very into crafts at the moment; drawing, painting, beads and sewing and loves to seek inspiration for things to do in his surroundings. I think that that is great and love to see him develop this side of himself. As it so happens, I love to do these things as well so it really is a win-win situation.
We found an example of the penguin we wanted to do on Pinterest but as it was a picture only, without any instructions or description, we made the templates ourselves. I have uploaded them here so that you can make one as well. (Click on link to see templates in full size DIY Penguin template number 1 and DIY Penguin template number 2)
You will need felt in the colors white, black and yellow, thread, needle and cotton filling.
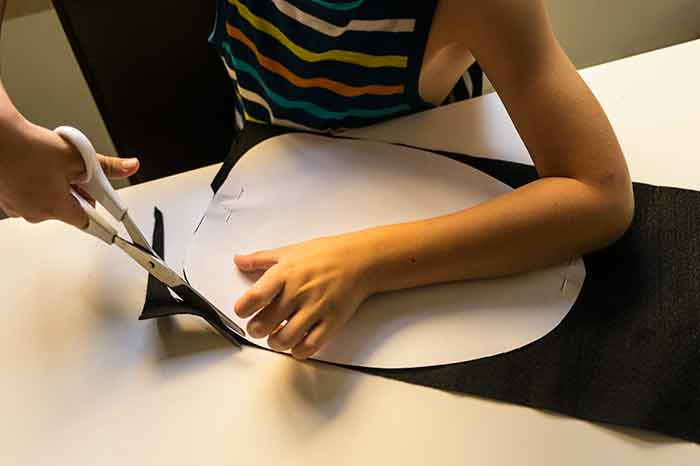
1. Using the template, cut out all the felt pieces as follows: 2 x body piece (black felt), 1 x belly piece (white felt), 1 x eye piece (white felt), 2 x eyes (black felt), 4 x arm pieces (black felt) 1 x nose piece (yellow felt), 3 x hair pieces (black felt) and 2 x feet (yellow felt).
2. Take one of the body pieces and start by sewing on the white eye piece and on to it, the two black eyes.
3. On the same body piece, now sew on the white body piece and on top of that, the yellow nose.


4. Placing the two black body pieces on top of each other, start sewing them together starting at the bottom. When you reach the top of the penguin, place and sew the three hair pieces so that they are attached and “stick out” of the body. Continue to sew until you have a 10 centimeter whole left at the bottom. Stuff the body with the cotton filling. When done, sew it shut.
5. Take two of the arm pieces and place them on top of each other. Sew all the way around like with the body, again leaving a small hole at one of the ends. Fill with the cotton and sew shut. Same thing with the other arm. Attach the arm to the body with a few stitches.
6. Take the two feet and attach them to the body of the penguin with a few stitches as well.
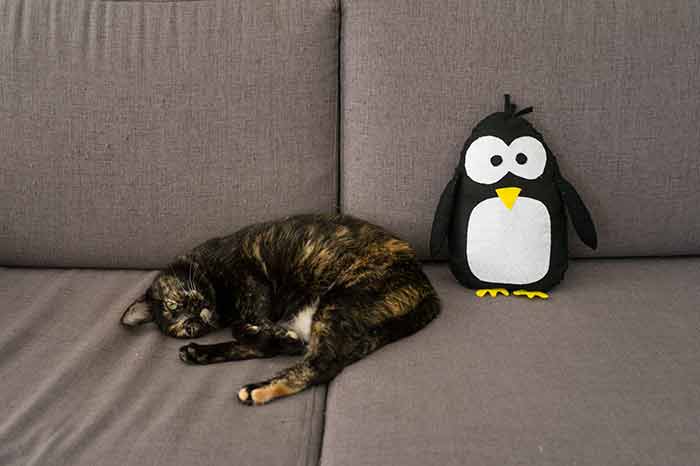
There you have it. An hour of two of fun, a really cute penguin and a great sleeping partner for a seven year old boy (or a cat)!
Leave a Reply